So, after several requests (DIY: Macramé & Chain) I decided it is finally time to explain in full detail how to make these lovely beauties.
Depois de vários pedidos na sequência do post DIY: Macramé & Chain, finalmente explico tão detalhadamente quanto consigo como fazer estas belezas.
First things, first: You need to know that you can tie from left to right and from right to left. Here are some videos for you to try to understand what I mean.
Antes de mais há que compreender que se pode dar nós da direita para a esquerda e da esquerda para a direita. Aqui estão dois vídeos para que possam compreender a diferença e como fazer cada um dos dois.
You should practice first both knots with two very thick threads.
Aconselho que treines primeiro os dois nós com duas linhas muito grossas, para que entedas o que estás a fazer e ganhes destreza a fazê-lo.
Supplies: Thread, chain, needle, scissors, pliers and tape.
Materiais: Linhas, corrente, agulha, tesoura, alicate de corte e fica cola.
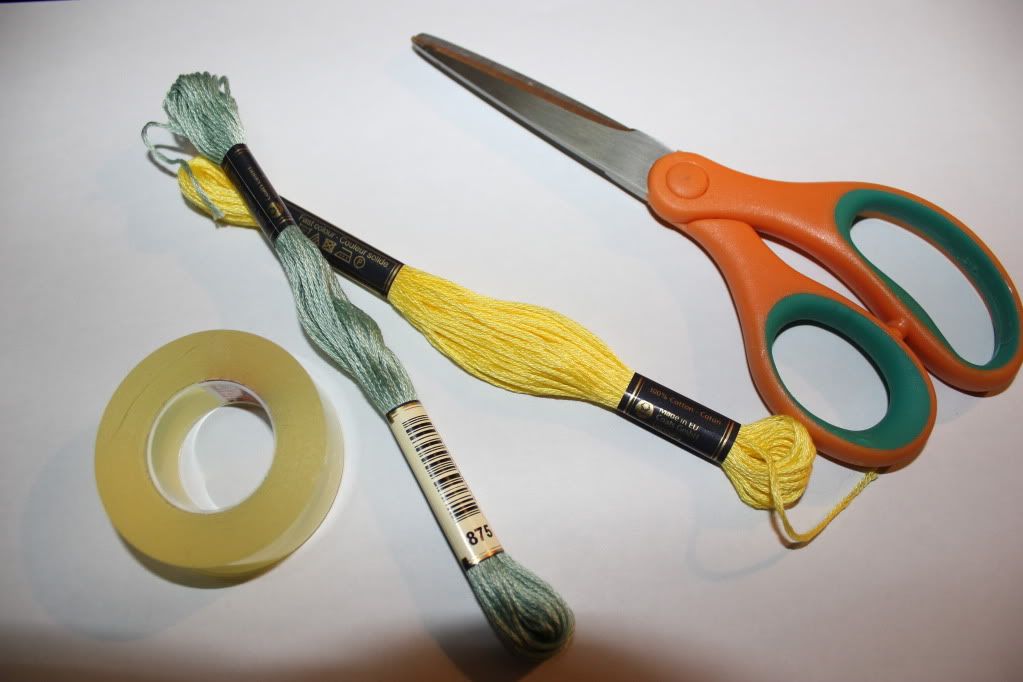

Cut 6 very long threads, about 75 cm. Fold them in half. Tie them and fix them into a place with tape.
Corta 6 linhas com cerca de 75 cm. Dobra-as ao meio e dá um nó. Fixa-as num local.

Sort the threads as you see in the following picture. Try to mantain them lke this until you make to lines and they stay in place by themselves.
Separa as linhas com vês na figura seguinte. Tenta mantê-las assim até acabares a segunda linhas, por essa altura elas devem separar-se por elas.
Separa as linhas com vês na figura seguinte. Tenta mantê-las assim até acabares a segunda linhas, por essa altura elas devem separar-se por elas.
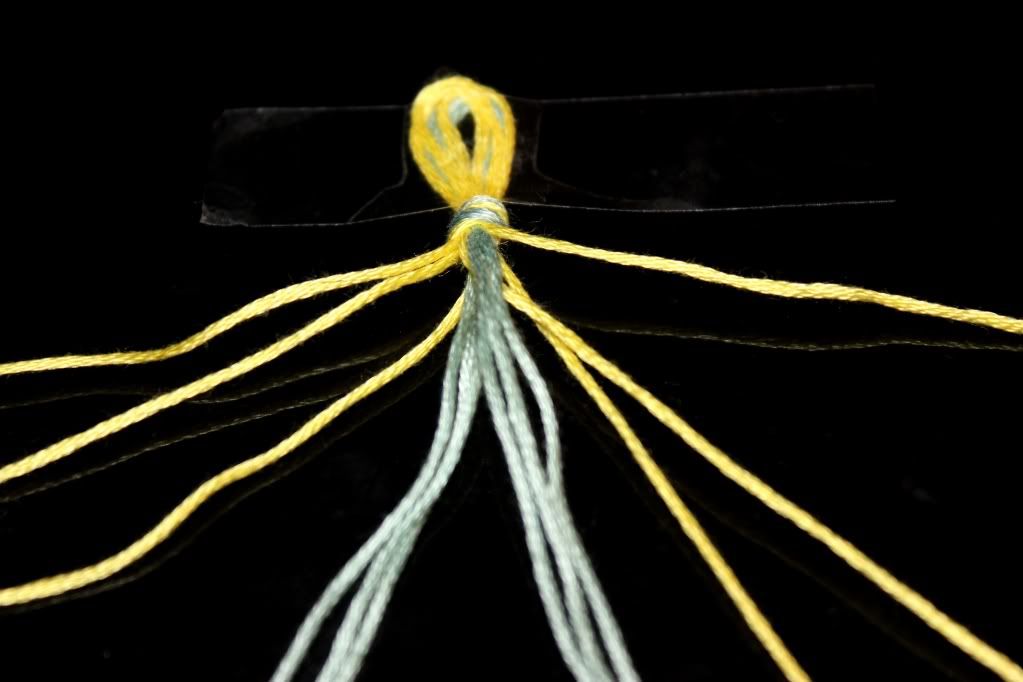
Imagine each line has a number from to 12, from left to right.
Now you have 2 yellow threads on the outside, followed by 3 mint and then 2 yellow in the middle. Ti thread 1 around 12 with a left to right knot, they will swap positions.
Agora tens 2 linha amarelas no centro, a linha 1 e a 12, que estão nos anteriores lugares da 6 e da 7. Dá dois nós da esquerda para a direita com a linha 1 na linha 12. Elas vão trocar de posição.
(Nó da esquerda para a direita com a linha 1à volta da linha 2.)

(Knot from right to left with thread 12 around11.)

(Previous knot in detail, with 12 around 9.)
(Nó anterior em detalhe, mas com a linha 12 à volta da 9.)

Repeat the procedure, always from the outside in. Always knot twice. You should get something like this.Repete o procedimeto anterior, sempre com as linhas mais de fora a dar nós às linhas de dentro até chegar ao centro, dando depois dois nós entre elas. Deverás obter o que está na seguinte imagem.
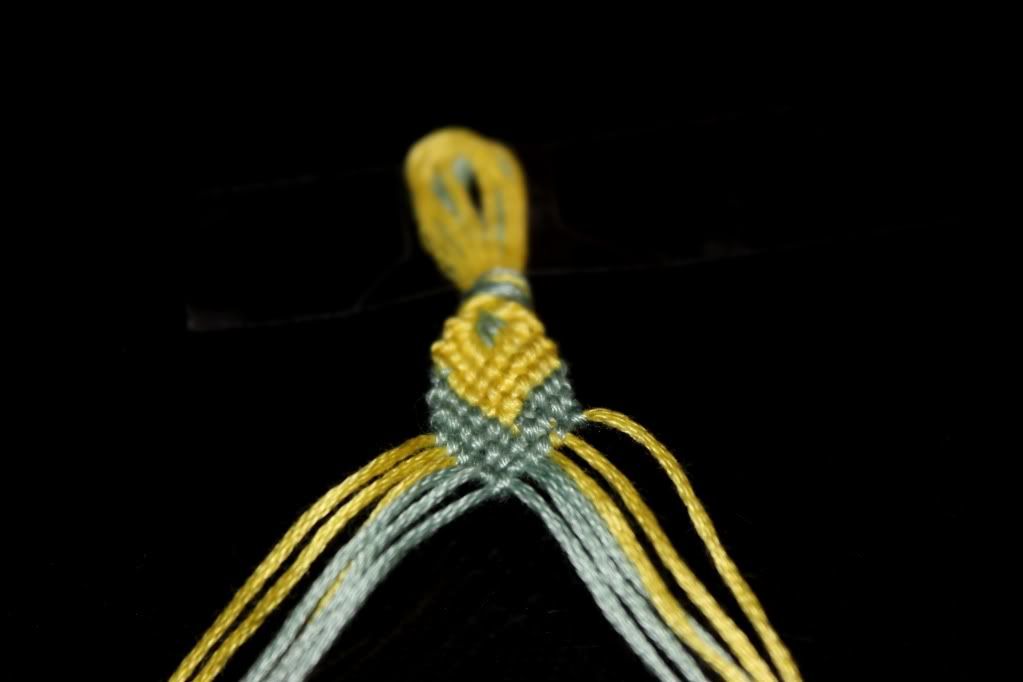
After you have masteres the tecnique you'll start to understand by yourself how to do diffrent patterns.
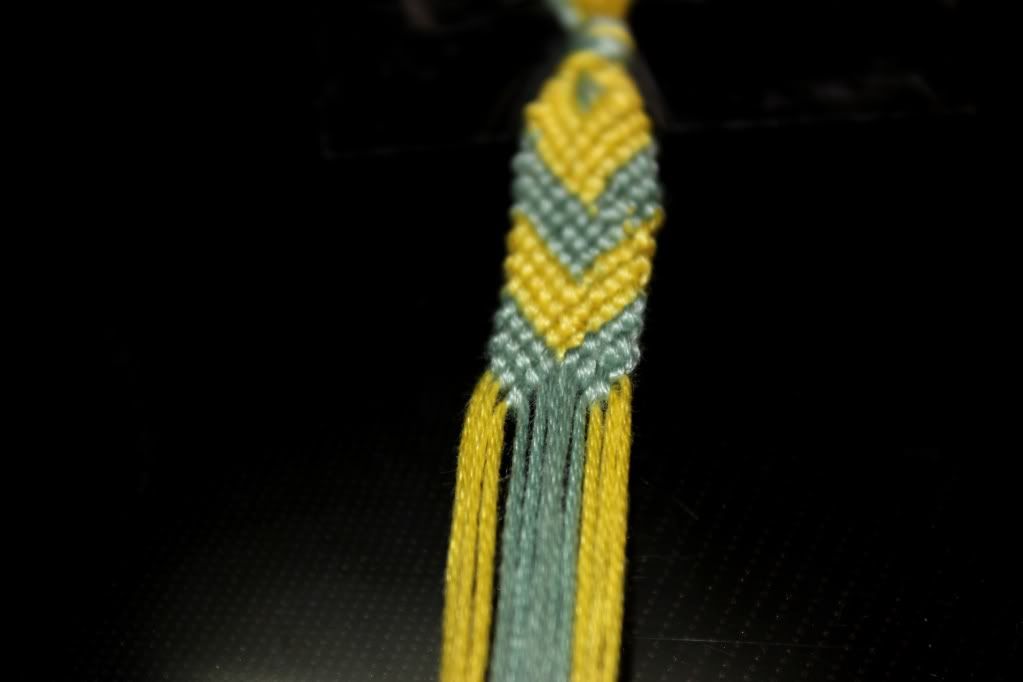

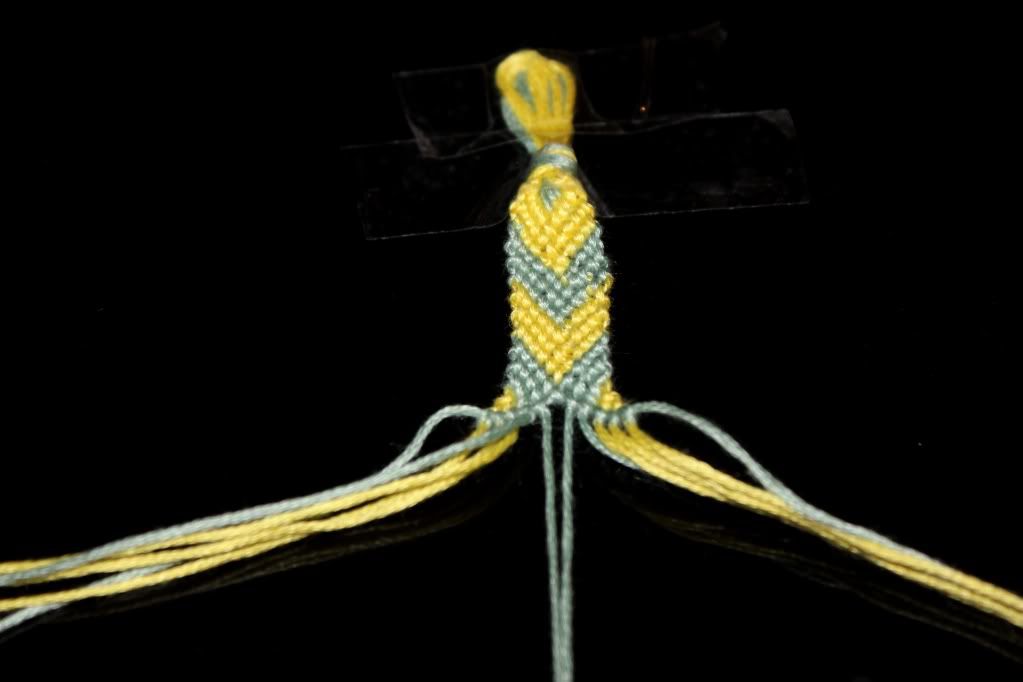
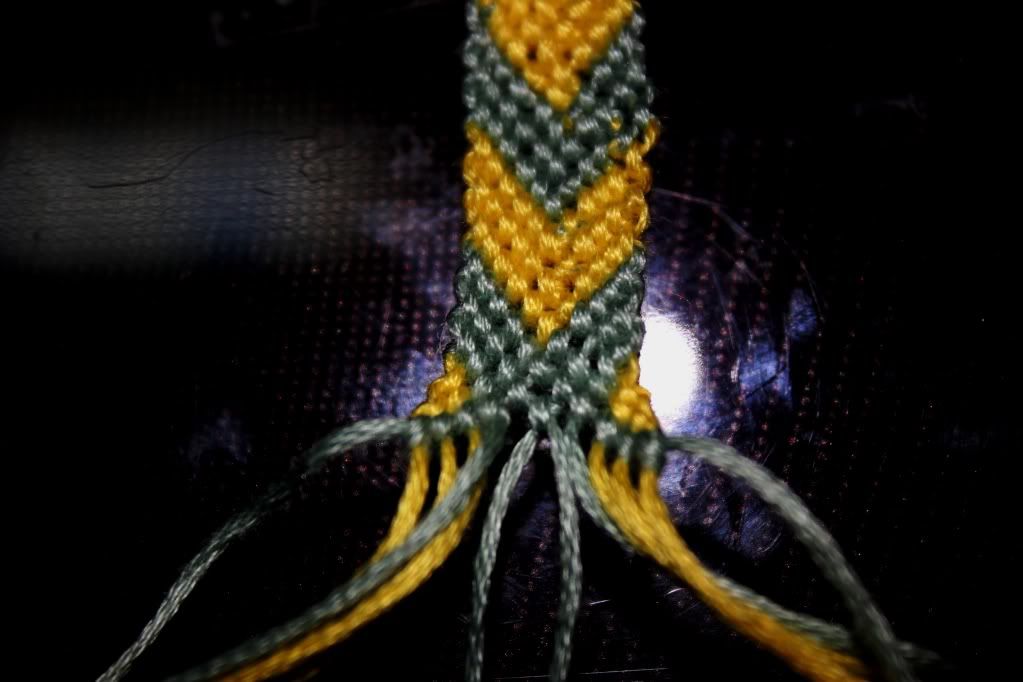
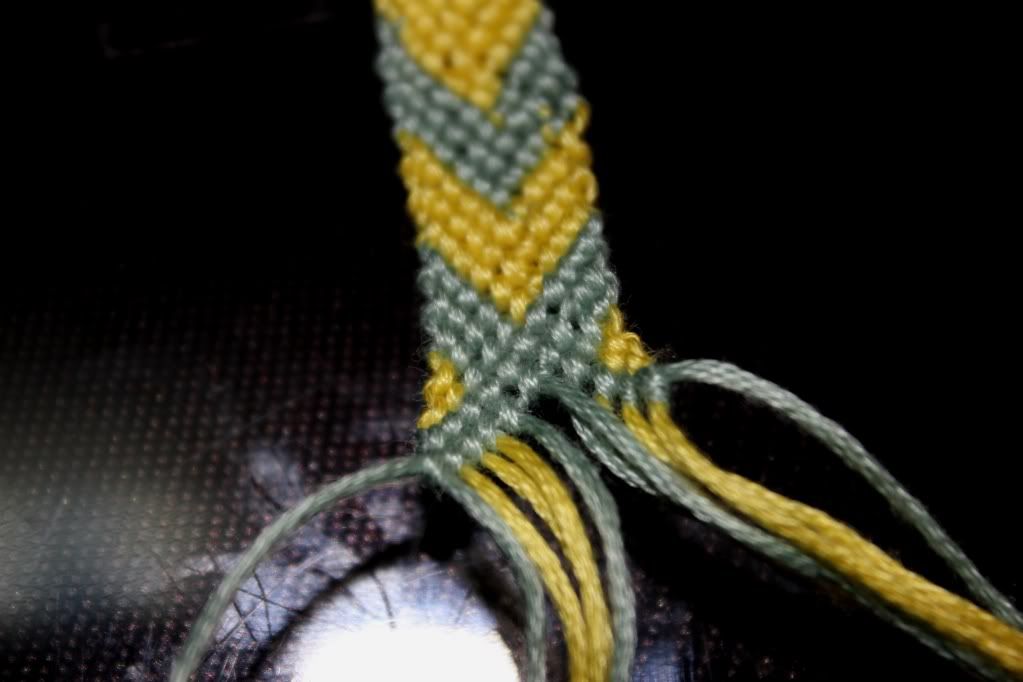
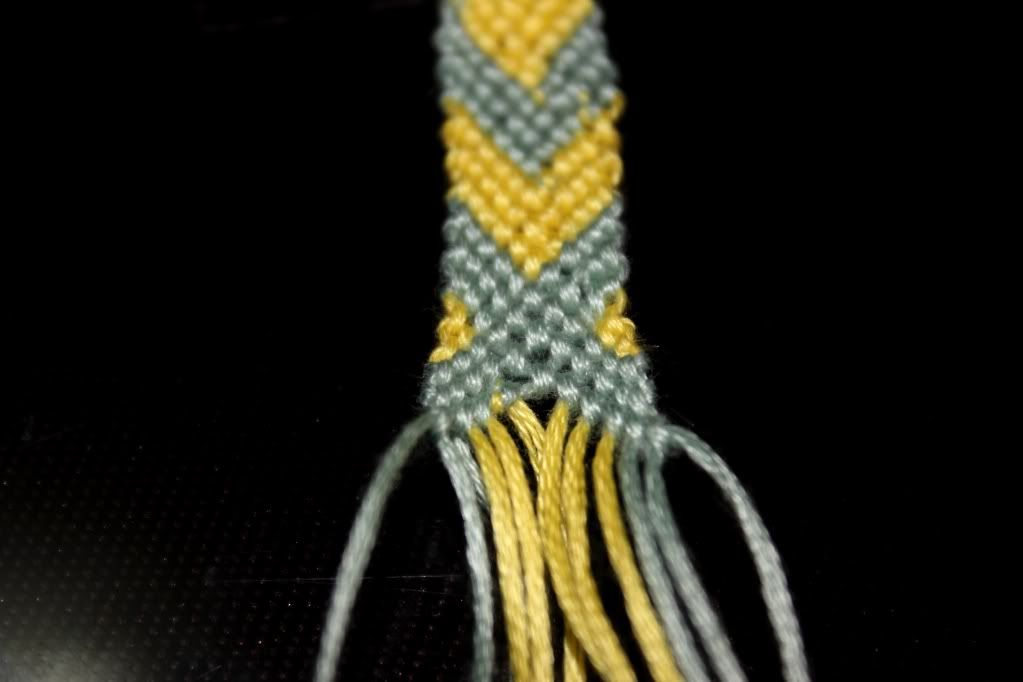

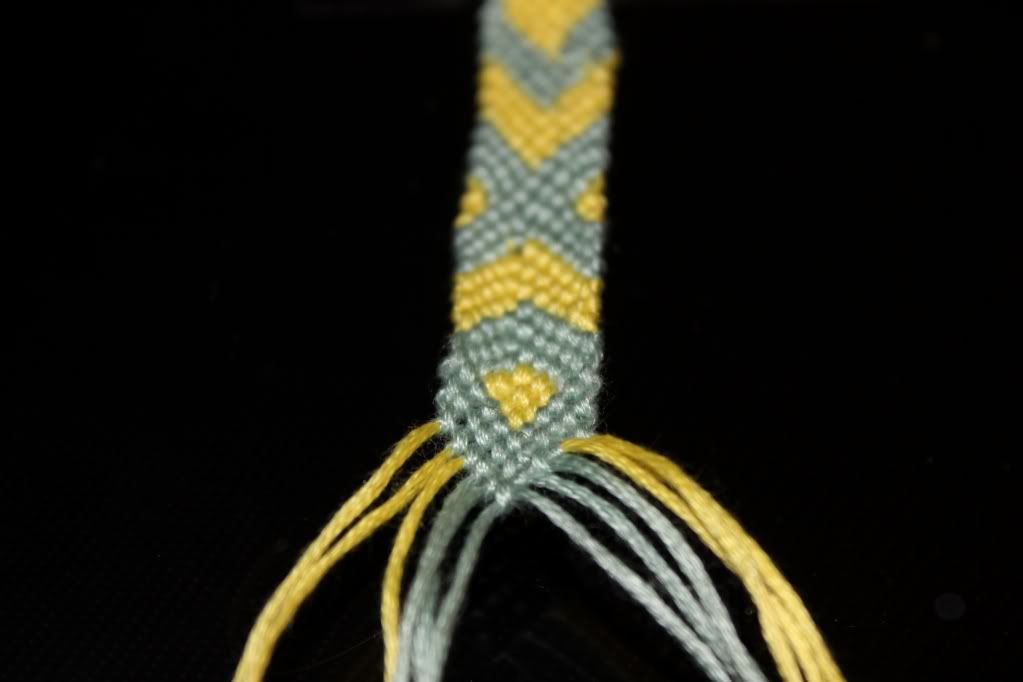
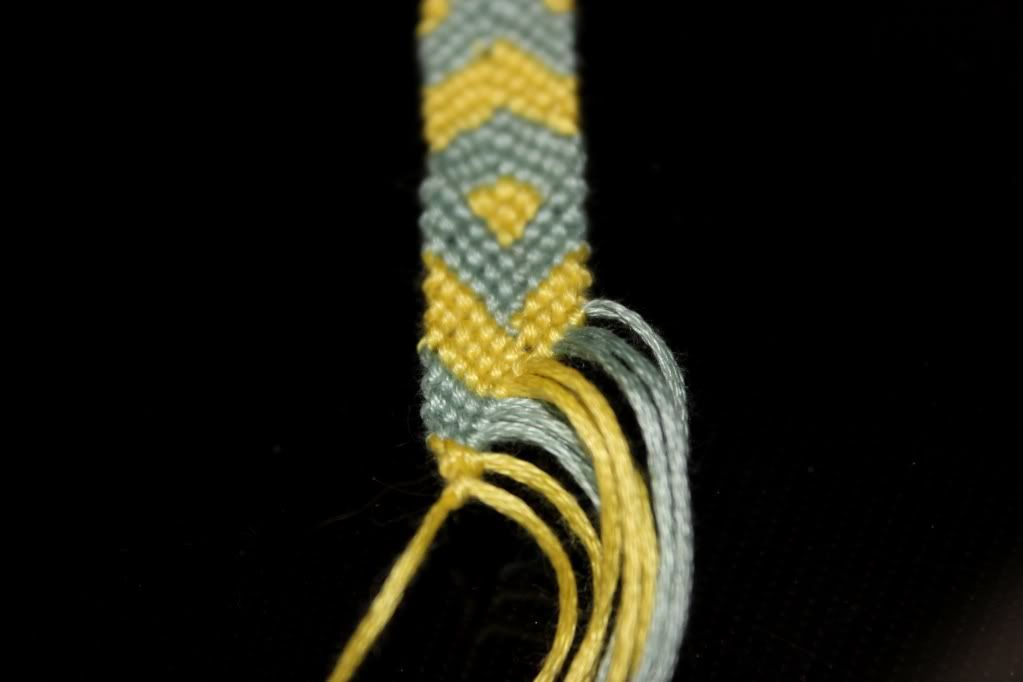
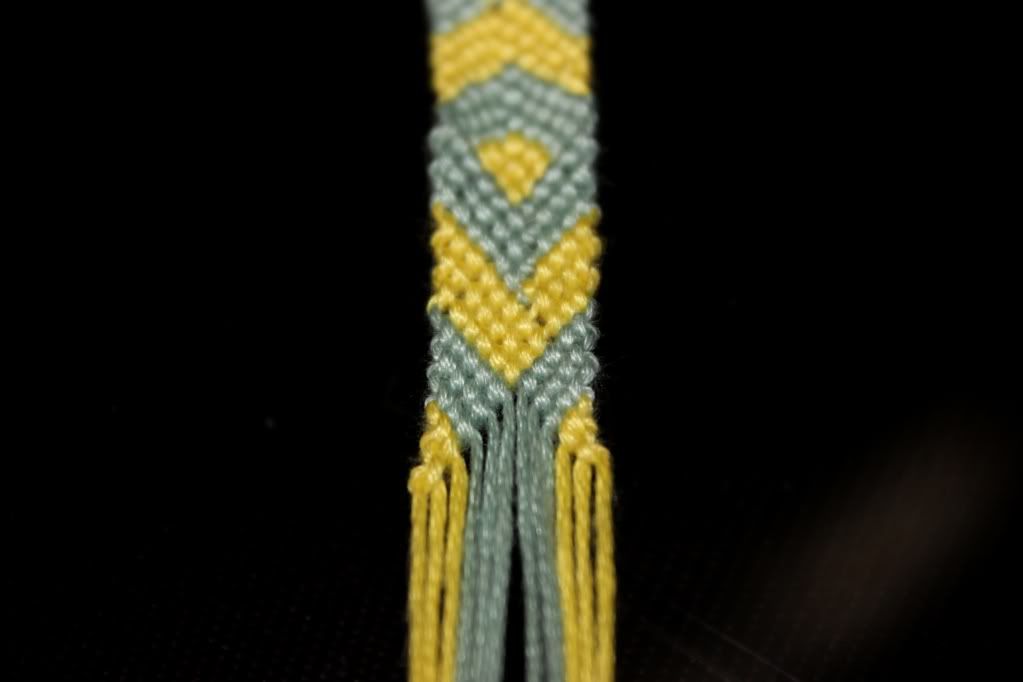
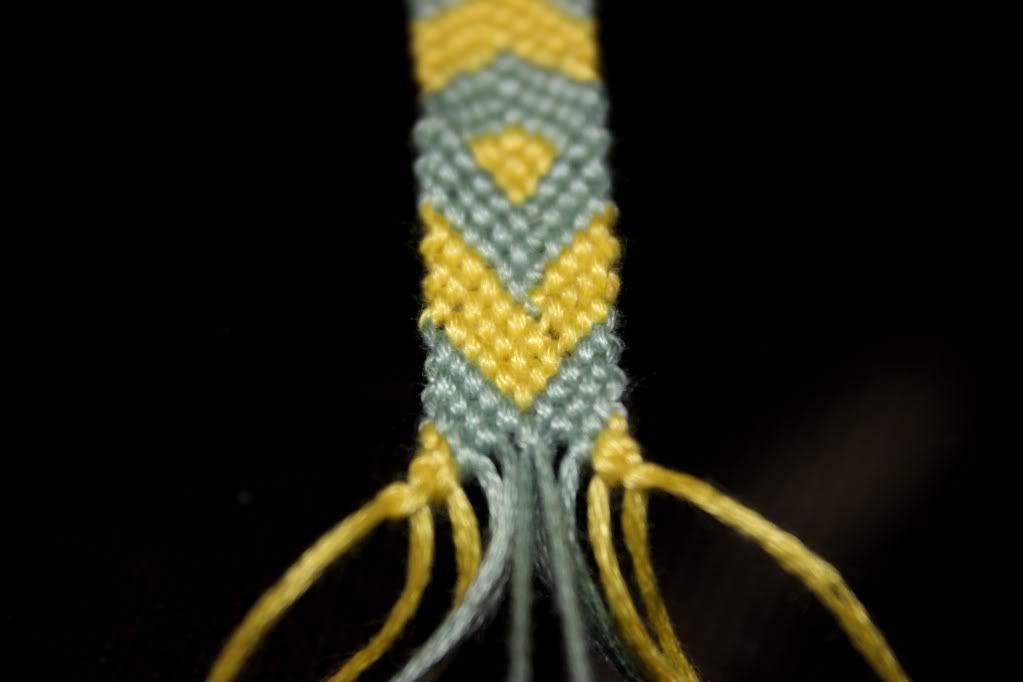


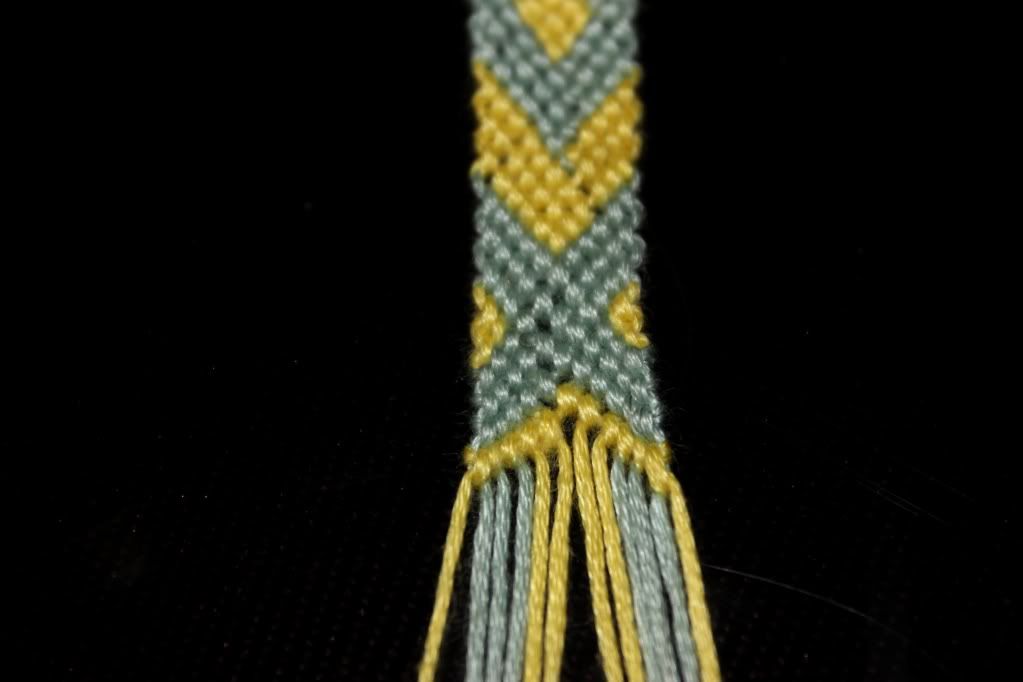

After you have enough lenght to go arround your wrist, knot the ends and get your chain.
Quando tiveres comprimento suficiente para dar a volta ao pulso, dá nós nas pontas e vai buscar a tua corrente.
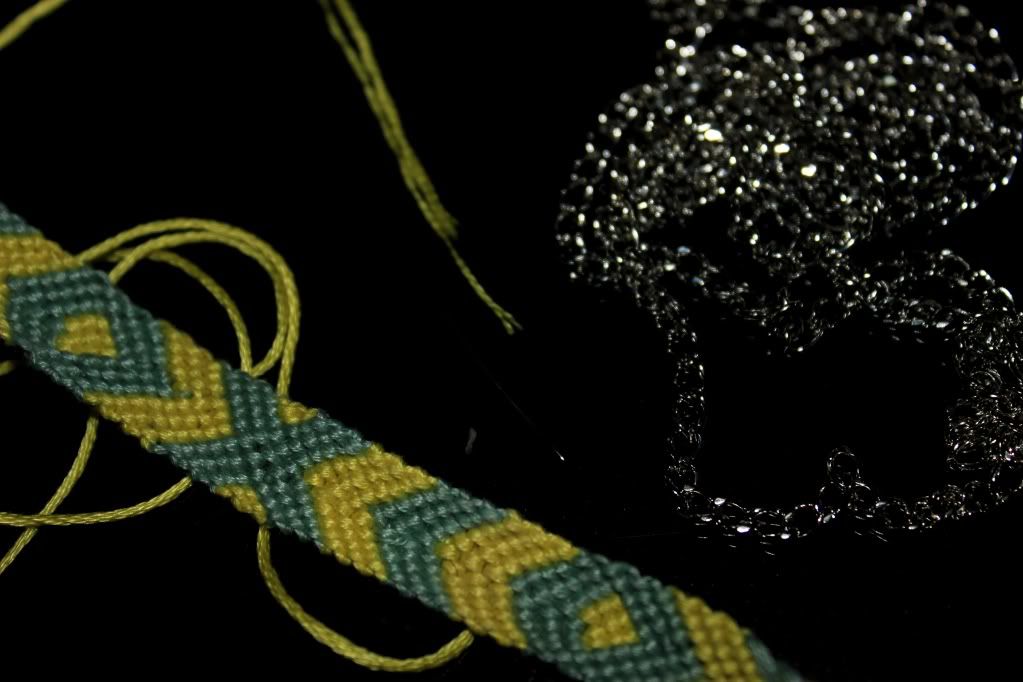
Get the thread in the needle and secure it around the bracelet before swing the chain to the bracelet.
Fixa a linha na pulseira antes de começares a coser a corrente.
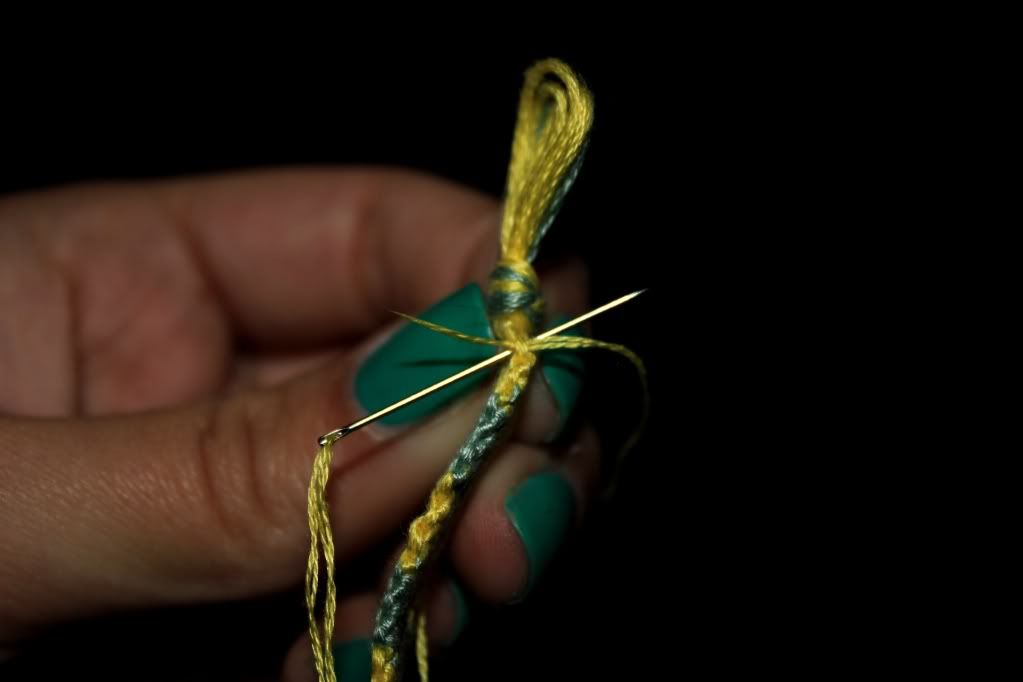
Chain it up!
Toca a coser a corrente!
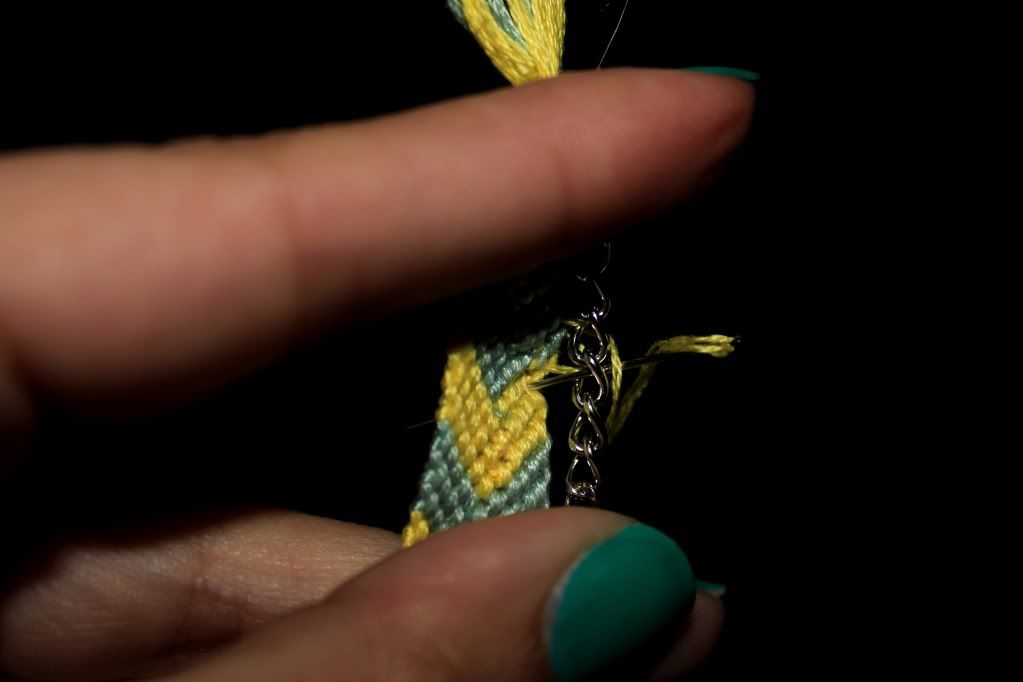
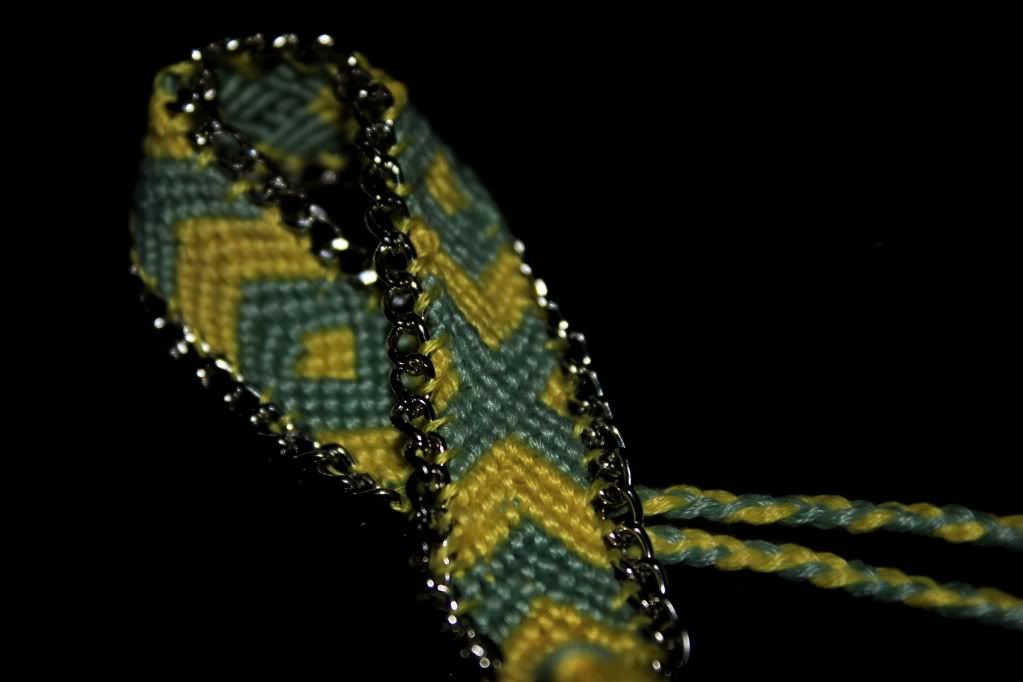
I braided the ends so I could put and take the bracelet.


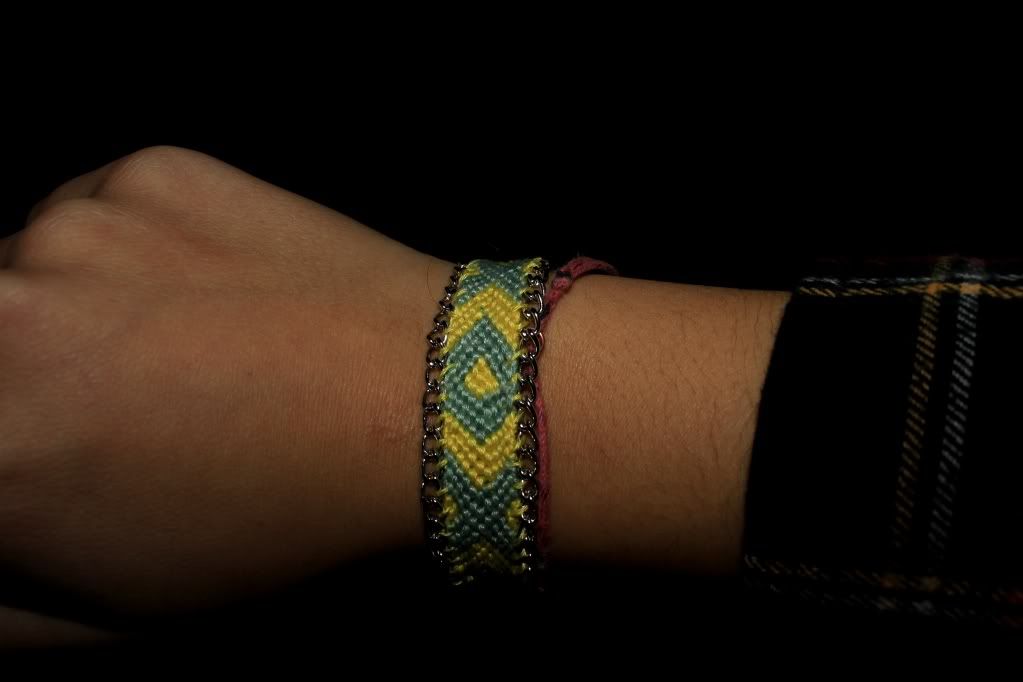


Adoro DIY, e estas são muito giras!
ReplyDeleteClucbCouture giveaway no meu Miss Tangerine, participa!
amazing!! gostei mt!! vou tentar isso! :) obg!!
ReplyDeletequerida...quero saber onde é que compraste o chain? quero memso de fazer isso... PS...falas mt bem ingles!! :) xxx
ReplyDeleteDans le chinês. Cá na nossa zona há um que tem, mas já esgotei o suply que ele tinha da que era mesmo feinha. Agora queria ver se descobria um sítio em Lisboa que tivesse. uma vez que as aulas recomeçaram dava geito saber de um por lá. ((Se alguém souber que informe por favor)).
Deleteps obrigada.