

Last week I decided to organize my drawers. I bought some plastic boxes at Muji but didn't find one that satisfied my demands for a good earring organizer. So when I got home, after organizing everything I decided to make my own earring organizer that fitted my draw perfectly. Find out how I made it after the jump.
Esta semana decidi organizar as minhas gavetas, para o efeito fui à Muji e comprei caixas com divisórias, mas não encontrei nada que satisfizesse as minhas exigências para os brincos Ou não havia nada que coubesse na gaveta ao lado da caixa dos ganchos, ou não tinha divisórias que me satisfizessem. Portanto, quando cheguei a casa, depois de arrumar as gavetas, decidi fazer as minhas próprias divisórias.

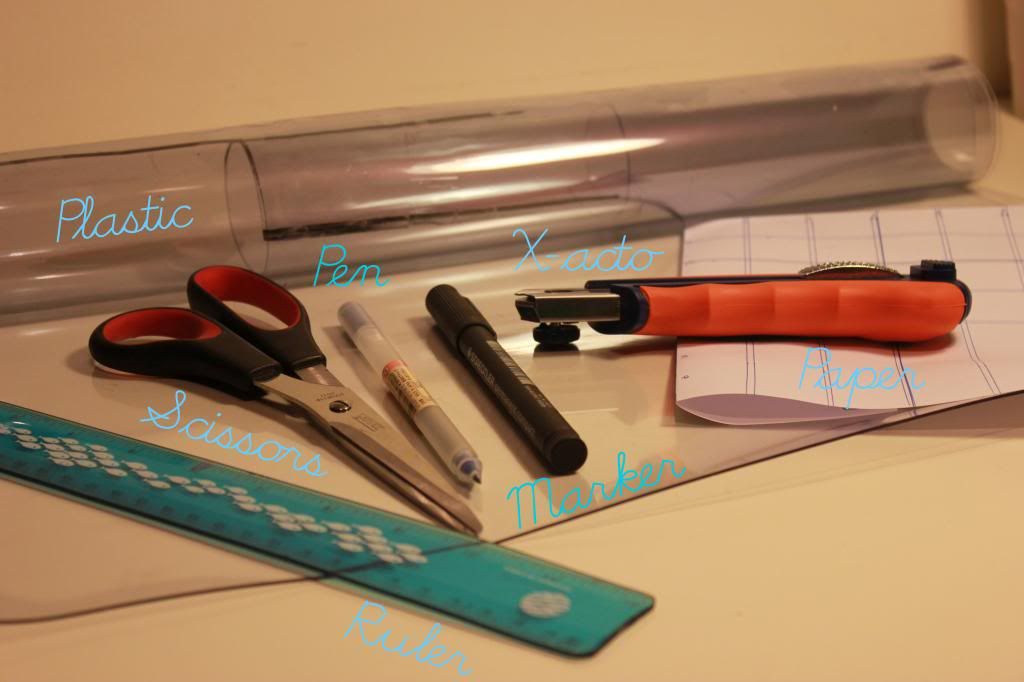
Supplies: A thick plastic sheet, ruler, scissors, pen, marker, x-acto, paper.
Materiais: Plástico óculo, régua, tesoura, caneta, caneta de acetato, x-acto e papel.
Materiais: Plástico óculo, régua, tesoura, caneta, caneta de acetato, x-acto e papel.
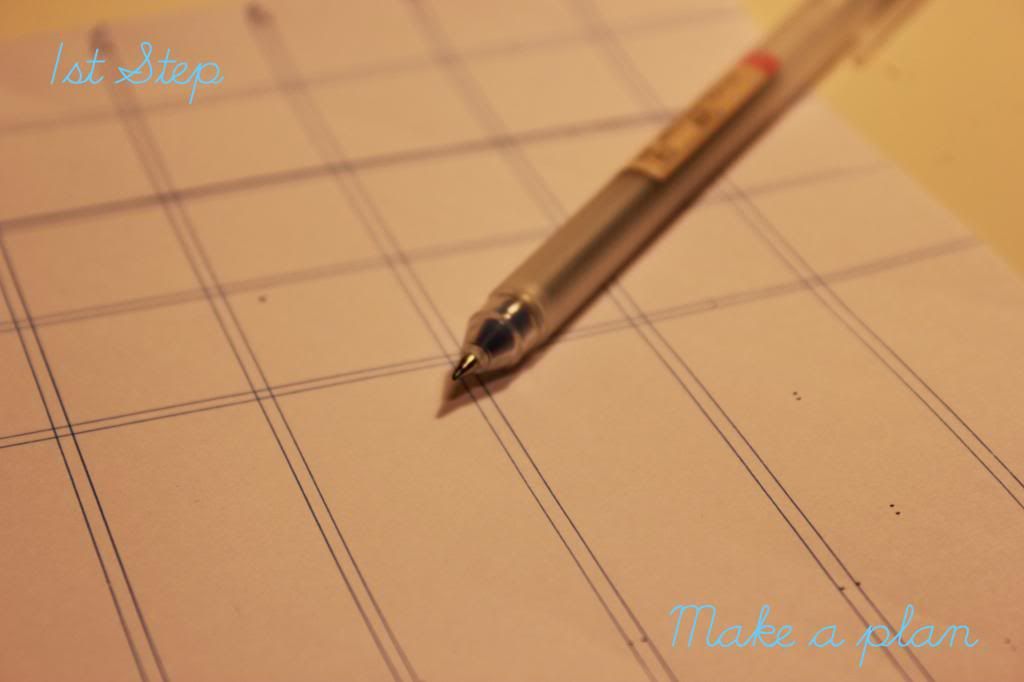
1st Step: Make a plan of your erring organizer, it's a plant, so it's the view from above. You'll have the length and how many rectangles you'll need to make. . Don't forget to consider that the material has a certain with and make sure your dividers are square, it makes things a lot easier.
1º Passo: Faz a planta do que queres construir considerando o comprimento de cada parte e a sua espessura. Se decidires fazer as divisórias quadradas tudo fica mais fácil. Vais ficar a saber quantos quadrados precisas e de que comprimento.
1º Passo: Faz a planta do que queres construir considerando o comprimento de cada parte e a sua espessura. Se decidires fazer as divisórias quadradas tudo fica mais fácil. Vais ficar a saber quantos quadrados precisas e de que comprimento.
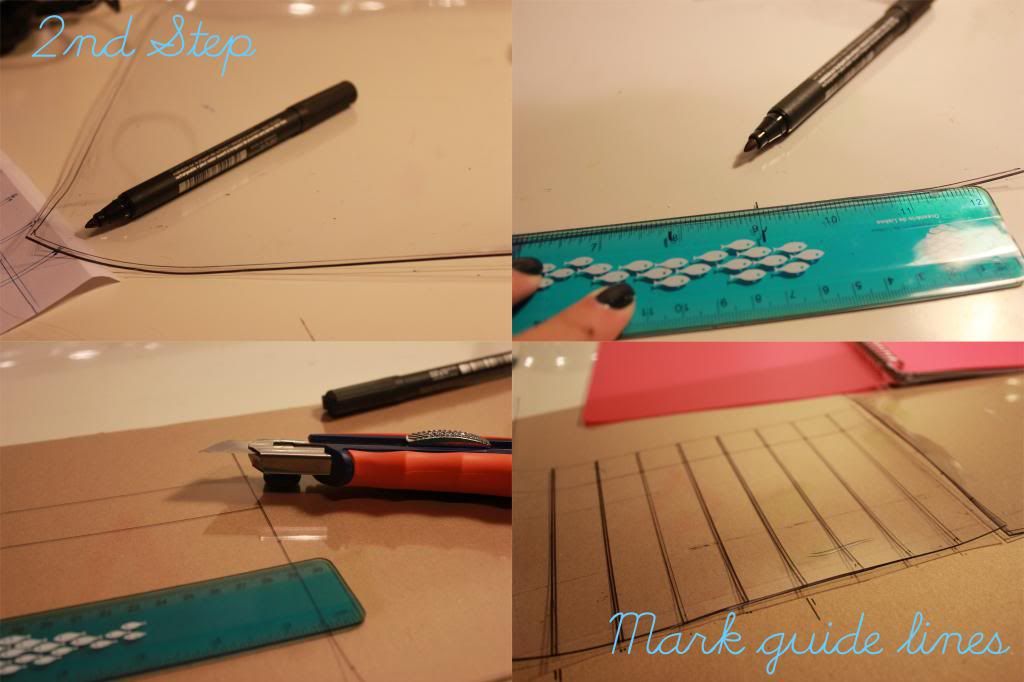
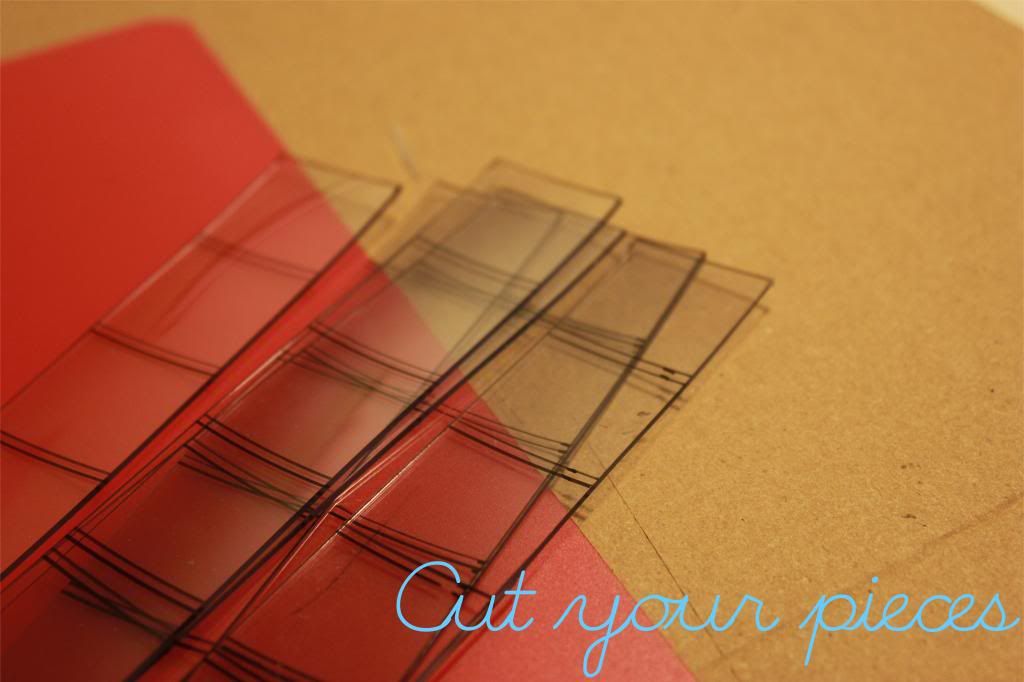
2nd Step: Draw the pieces you want to cut on the plastic you'll need to decide the height of your rectangles. This is from a front or side view. I also marked double vertical lines (that you see on the last picture) that mark where i'll make the next cuts.
2º Passo: Desenha as peças que queres cortar. Marca o comprimento e a altura. Desenha linhas no sítio onde as peças vão encaixar umas nas outras, considerando a espessura do material.
2º Passo: Desenha as peças que queres cortar. Marca o comprimento e a altura. Desenha linhas no sítio onde as peças vão encaixar umas nas outras, considerando a espessura do material.
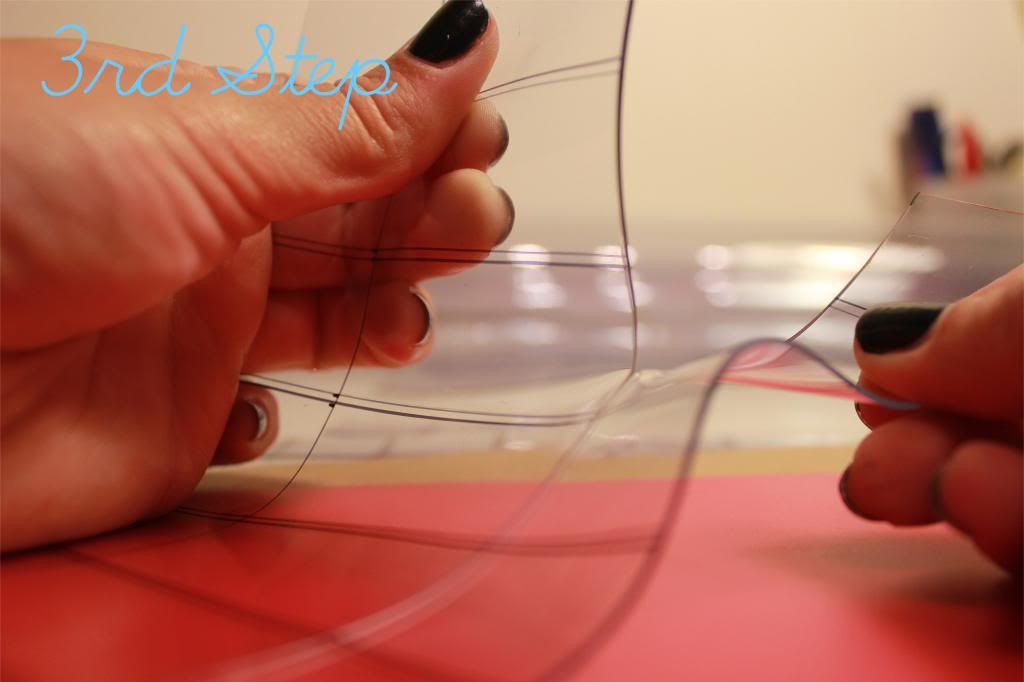
3rd Step: Cut you rectangles. You can make a x-acto cut and that tear it apart with your hands, that's the easiest way.
3º Passo: Faz um corte com o x-acto e depois ''rasgá'' cada rectângulo, é a melhor forma de ficares com cortes direitos e limpos.
3º Passo: Faz um corte com o x-acto e depois ''rasgá'' cada rectângulo, é a melhor forma de ficares com cortes direitos e limpos.
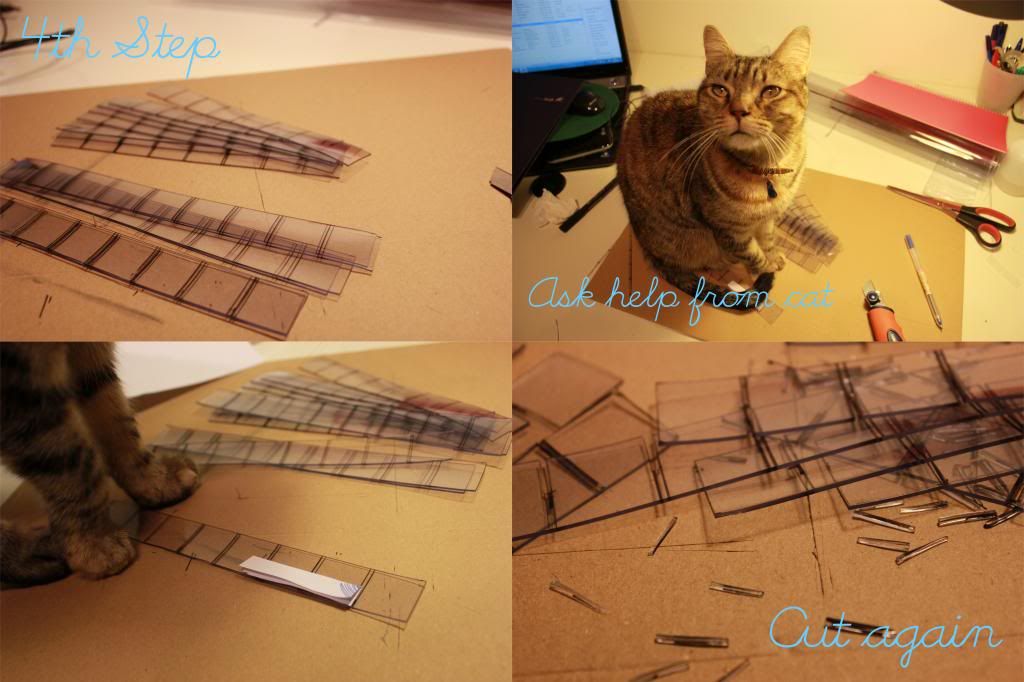
4th Step: Cut half of the height of the rectangle between the double lines.
4º Passo: Nos sítios em que tens os sítios de encaixe marcado, faz cortes correspondentes a metade da altura do rectângulo.
4º Passo: Nos sítios em que tens os sítios de encaixe marcado, faz cortes correspondentes a metade da altura do rectângulo.
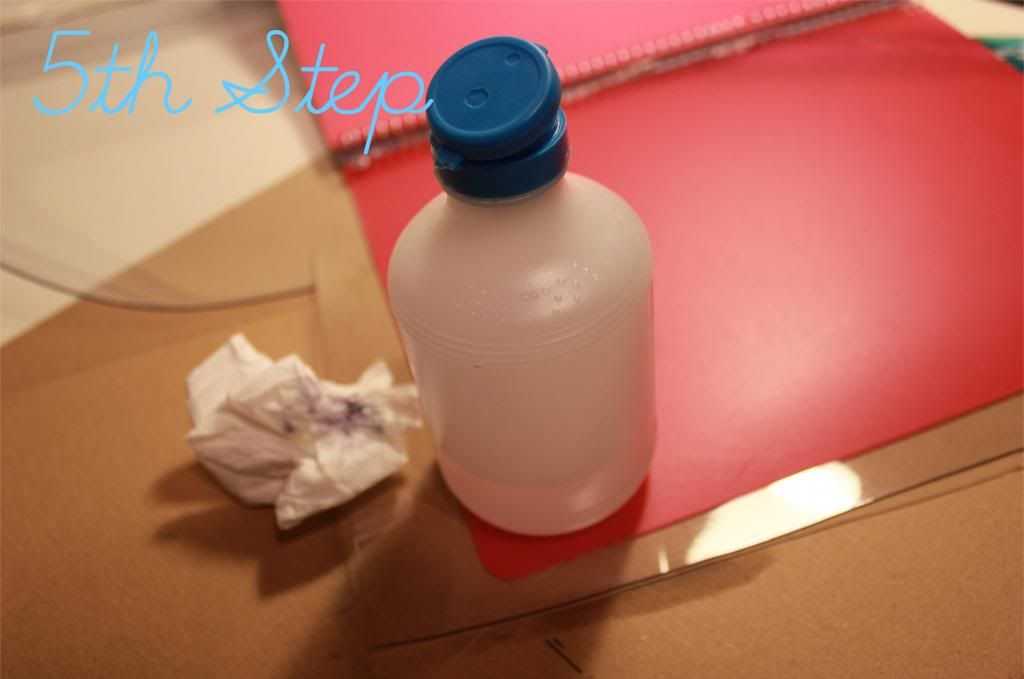

5th Step: Clean your black lines, you can use nail polish remover or alcohol.
5º Passo: Limpa as linhas feitas a caneta permanente com álcool ou acetona.
5º Passo: Limpa as linhas feitas a caneta permanente com álcool ou acetona.
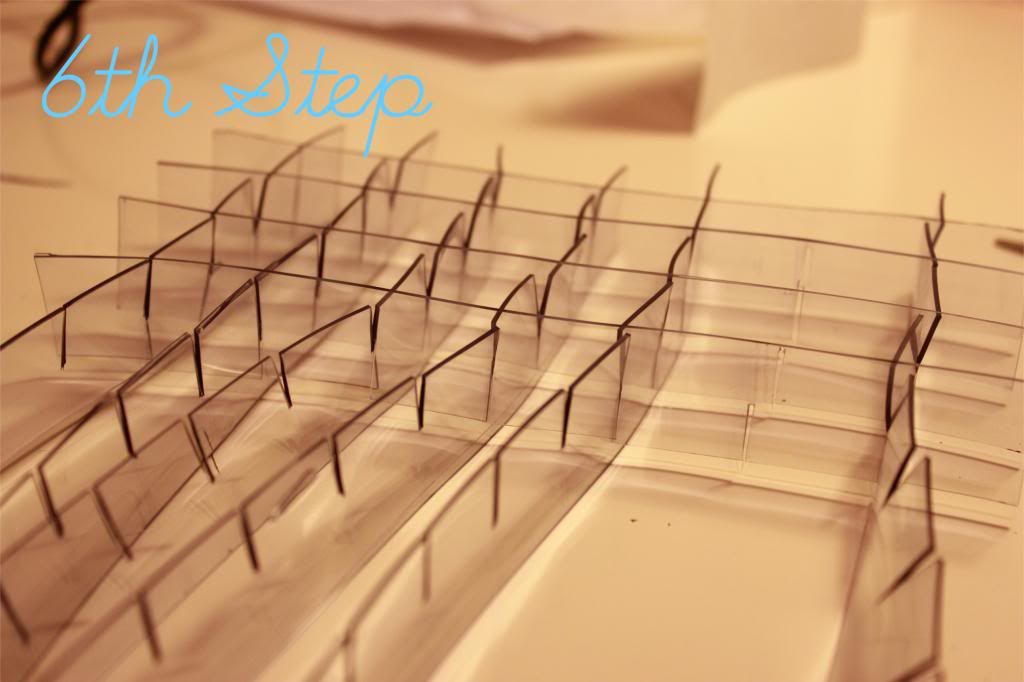
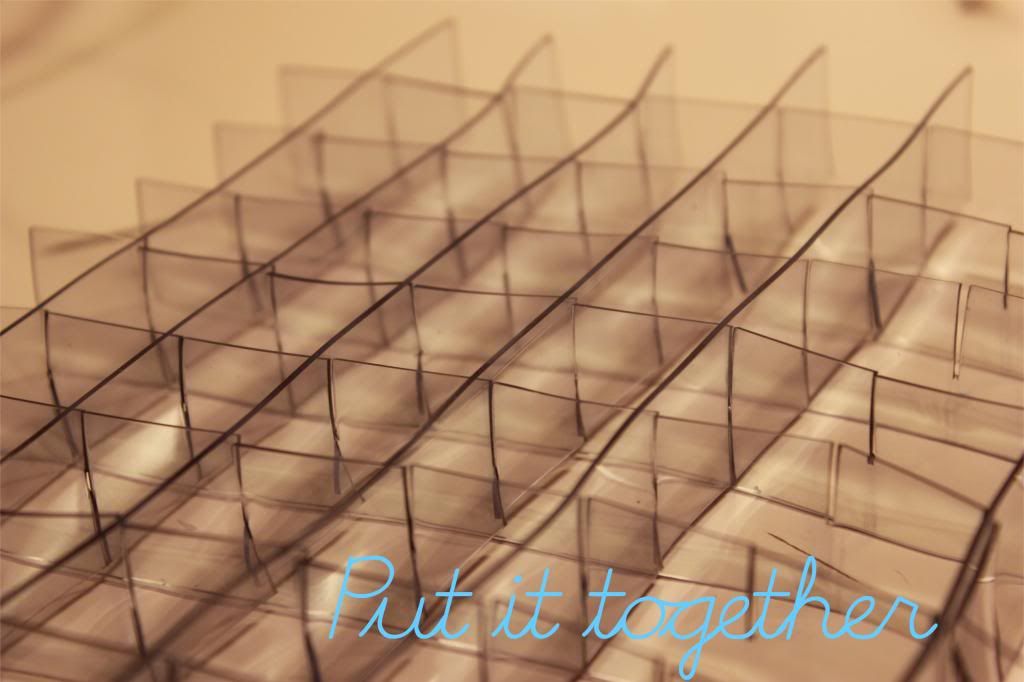
6th Step: Put your earring organizer together according to your plan.
6º Passo: Monta as peças de acordo com a tua planta.
6º Passo: Monta as peças de acordo com a tua planta.
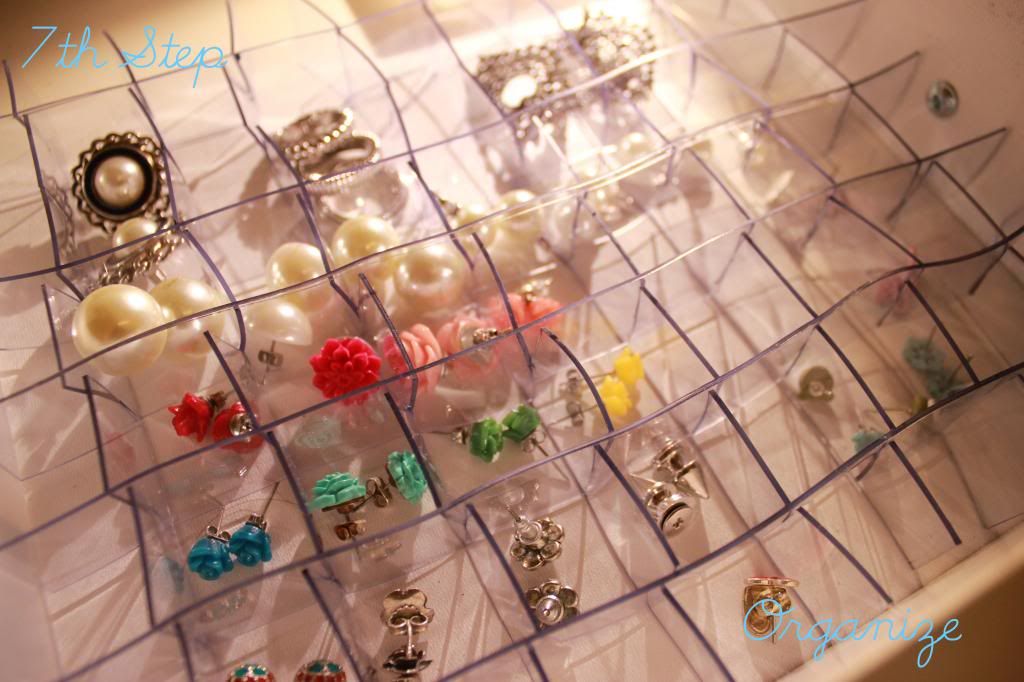
7th Step: Organize your earrings.
8º Passo: Organiza os brincos nas divisórias.
8º Passo: Organiza os brincos nas divisórias.

I hope you found this DIY usefull. Please give us your opinion.
Espero que este DIY te seja útil. Por favor deixa-nos a tua opinião.

muito útil, adorei ! parabéns :D
ReplyDelete